
Flat Lay Clothing Photography: Shaping Garments, Controlling Fabric and Capturing Detail
A Behind the Shoot case study from Nikita Photography Studios
Project Overview
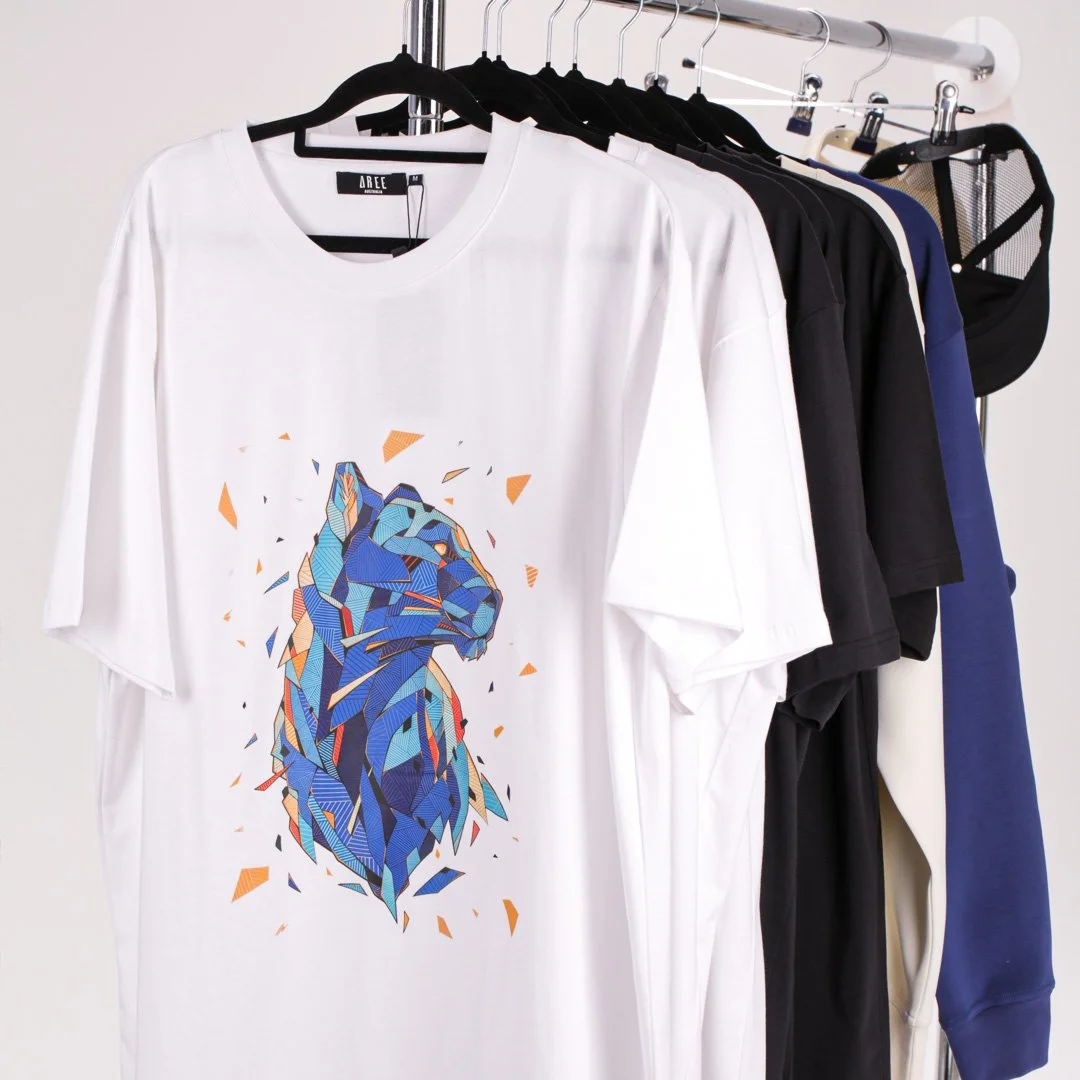
For this flat lay photography project, our studio received two sweatshirts and six T-shirts across two colourways.
The client required clean eCommerce images of the garments, including front and back views where necessary, together with close-up photographs of printed graphics, logos and embroidery.
No additional drop shadows were required in the final images, so the focus was on creating clean, consistent garment shapes while retaining enough natural definition in the fabric to show its construction and texture.
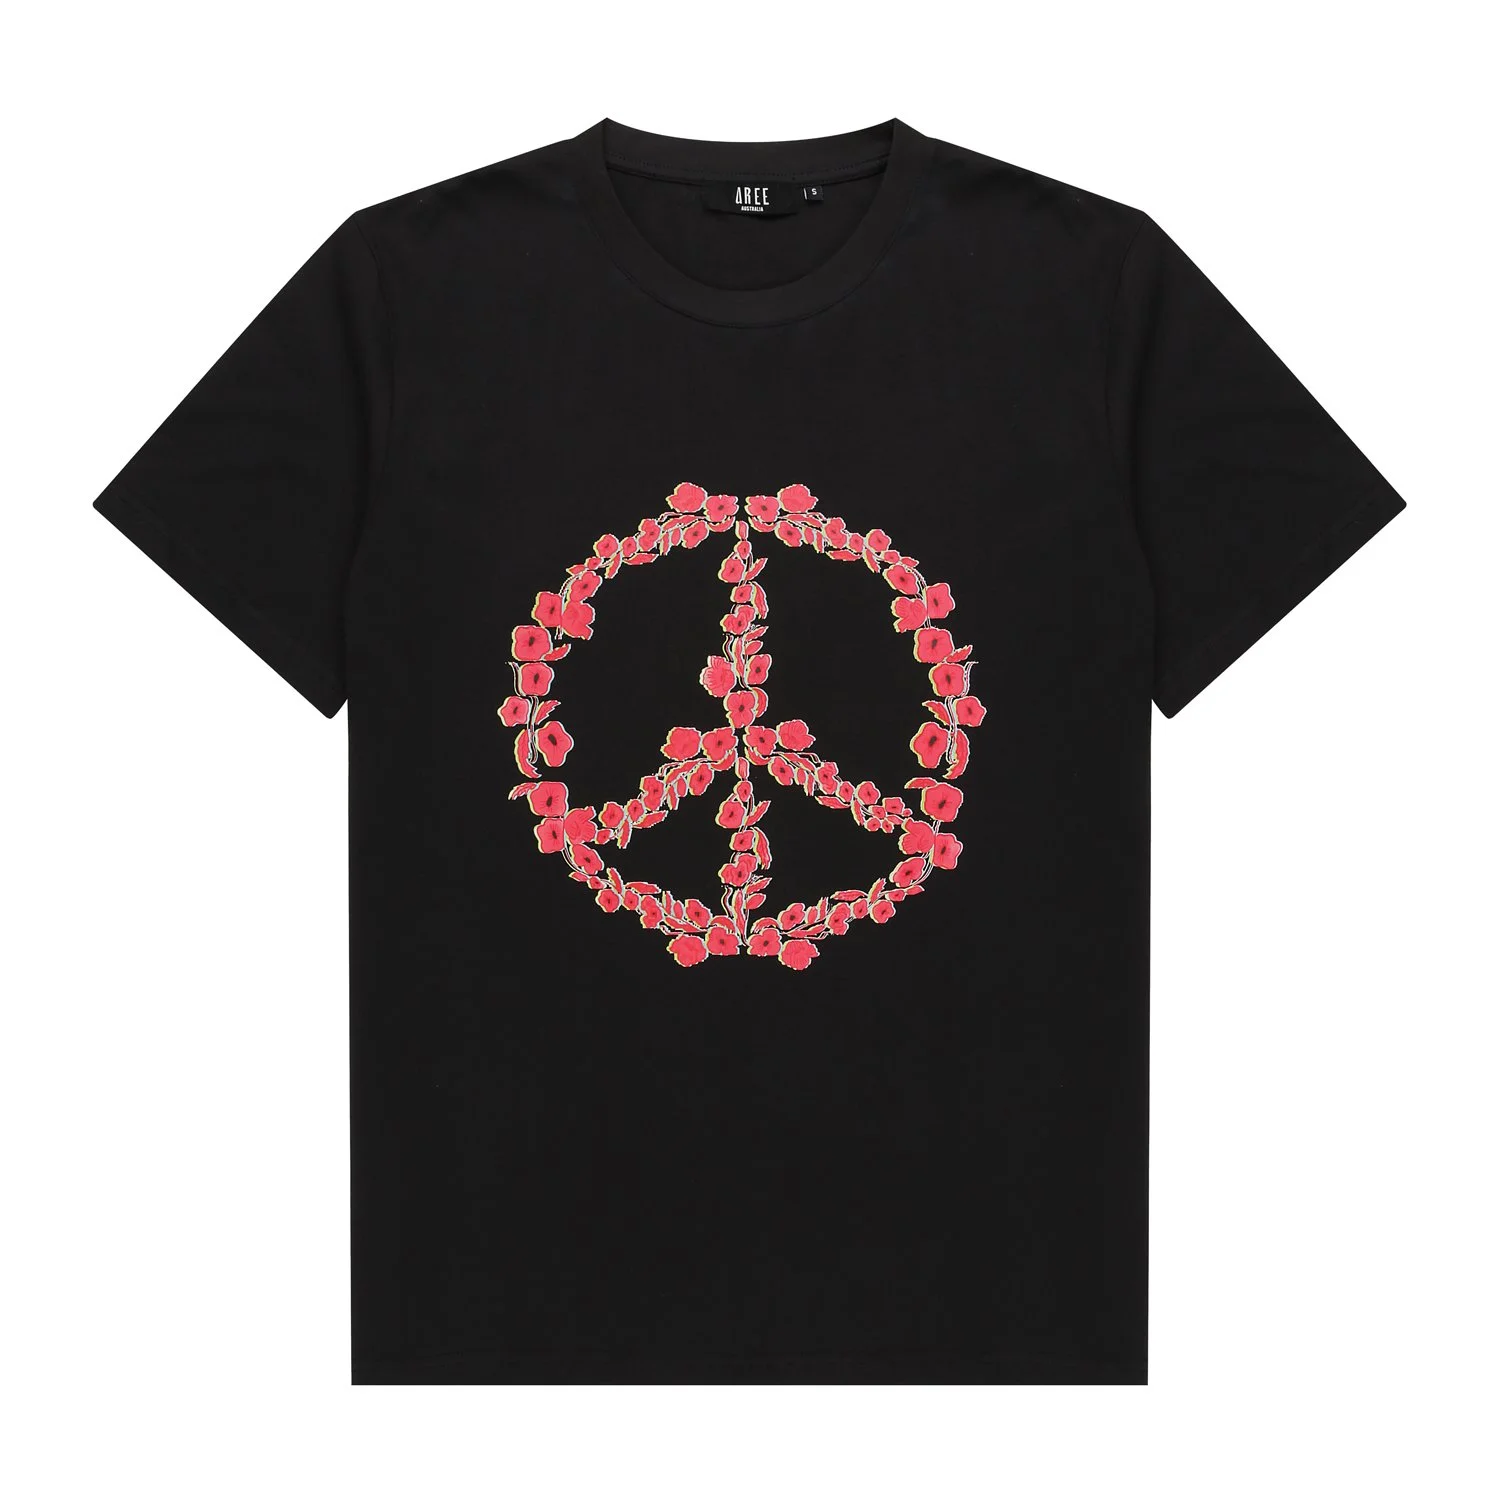
The T-shirts required six front photographs and two back photographs. Because there was no print or other distinguishing detail on the reverse of several designs, the same back image could be used across corresponding products.
Additional close-up images were required to show the graphics clearly.
The sweatshirts followed a similar presentation, with front and back photographs together with close-up images of the front graphic and embroidery detail on the back.
The Photography Challenge
Flat lay clothing photography can look relatively simple, but the finished result depends heavily on preparation and precise garment positioning.
Unlike ghost mannequin photography, there is no three-dimensional form supporting the garment. Every sleeve, side seam, shoulder and hem needs to be positioned manually.
The main challenge is creating a shape that looks natural while remaining symmetrical and consistent across an entire collection.
Fabric weight also makes a significant difference.
Lightweight fabrics tend to move easily and create more small folds and creases, making them more difficult to position cleanly. Heavier or medium-density materials generally retain their shape better and are easier to control.
The T-shirts in this project were made from a medium-density fabric, so the preparation followed our standard flat lay procedure.
Close-up images introduced another consideration: any creases, lint, dust or uneven areas that might be barely noticeable in a full garment photograph become much more visible when the camera moves closer to logos, prints and embroidery.
Preparing the Garments
Before photography, each garment was carefully steamed.
This is particularly important when close-up photography is required, because creases around a printed graphic or embroidered area can distract from the detail the image is intended to show.
The garments were then sorted into their shooting order.
We grouped similar products and colourways together so that garment positioning and lighting could remain as consistent as possible throughout the session.
Any removable retail labels that interfered with the presentation were taken away before photography.
For darker garments, we also used a lint roller before shooting.
Small fibres, dust and light-coloured specks become very noticeable against dark fabric, particularly in high-resolution product photography. Removing them before taking the photograph reduces unnecessary distractions and post-production work later.
The Flat Lay Lighting Setup
For this shoot, we used a two-light studio setup.
The two lights were not set to exactly the same output.
One light was intentionally stronger to establish a clear direction of illumination, creating the impression that the light is naturally falling across the garment from above.
Using perfectly equal illumination from both directions can make fabric appear excessively flat.
A slightly stronger directional light helps reveal subtle texture, folds and construction while maintaining the clean presentation required for eCommerce photography.
Because the client did not require artificial drop shadows, our priority was to create definition through the lighting itself rather than adding a separate shadow during post-production.
Photographing the T-Shirts
We began with the T-shirts.
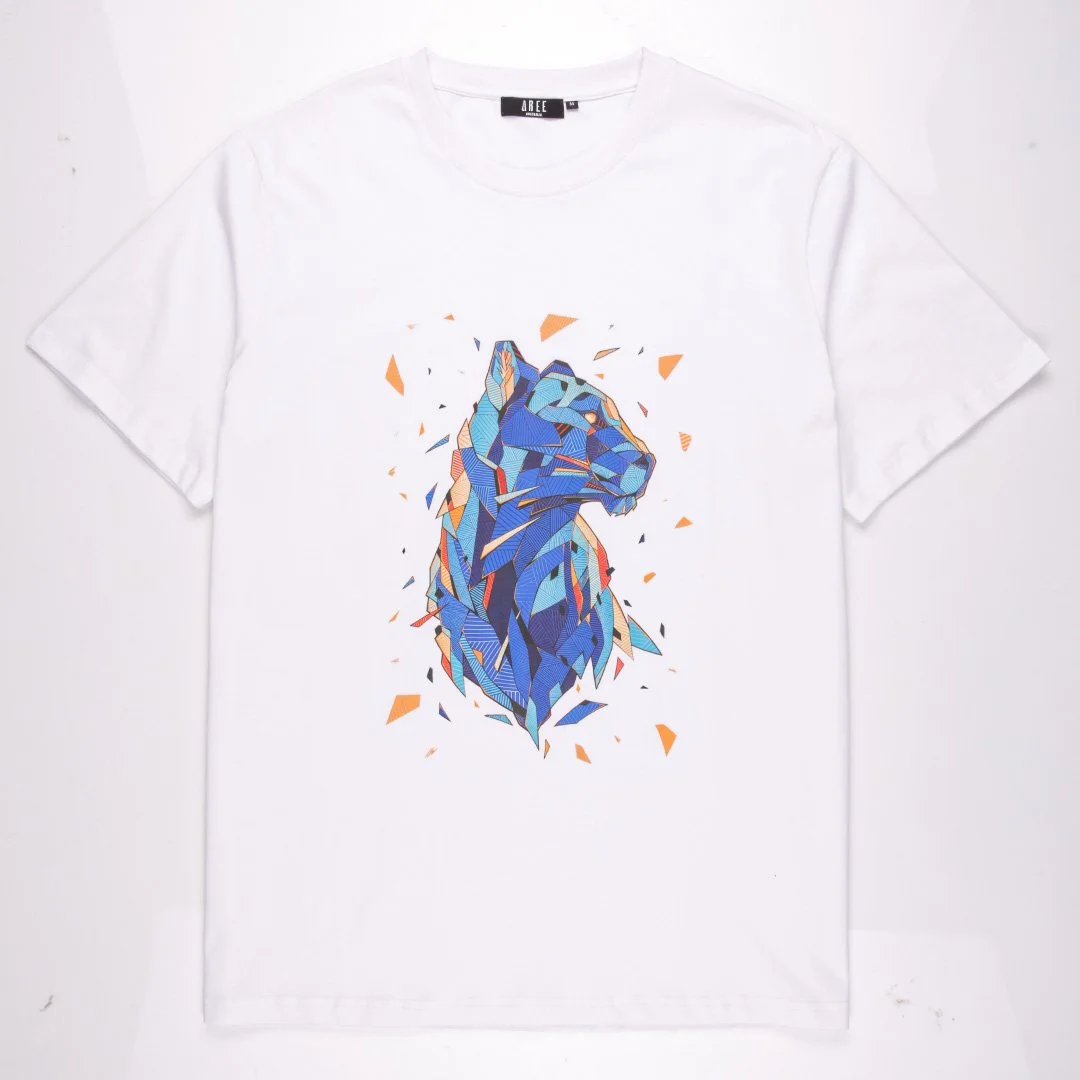
The first step was to lay each garment completely flat and establish its overall shape.
Rather than photographing the full natural width of the shirt, we tucked approximately 3–4 cm of fabric from each side underneath the main body.
This creates a cleaner and more controlled silhouette.
Once the sides were positioned, the sleeves could also be tucked slightly underneath the garment.
We generally position the sleeves until the folded section reaches approximately the sleeve stitching. This helps maintain a natural shoulder shape while keeping the overall presentation compact and symmetrical.
The aim is not to make the garment look artificially narrow. The adjustment is subtle and intended to create a clean eCommerce presentation while preserving the proportions of the original product.
Why Fabric Weight Matters
The behaviour of the fabric directly affects how long a garment takes to prepare.
A very lightweight T-shirt tends to develop more small creases and unwanted folds as it is moved and positioned.
The fabric can also shift more easily while the sides and sleeves are being arranged.
Medium-density fabric, such as the material used for the T-shirts in this project, holds its shape more effectively.
This makes it easier to create consistent edges, shoulders and sleeves across several products.
For a collection containing multiple colourways or related garments, this consistency is particularly important because customers may view the images side by side.
Creating Consistent Front and Back Images
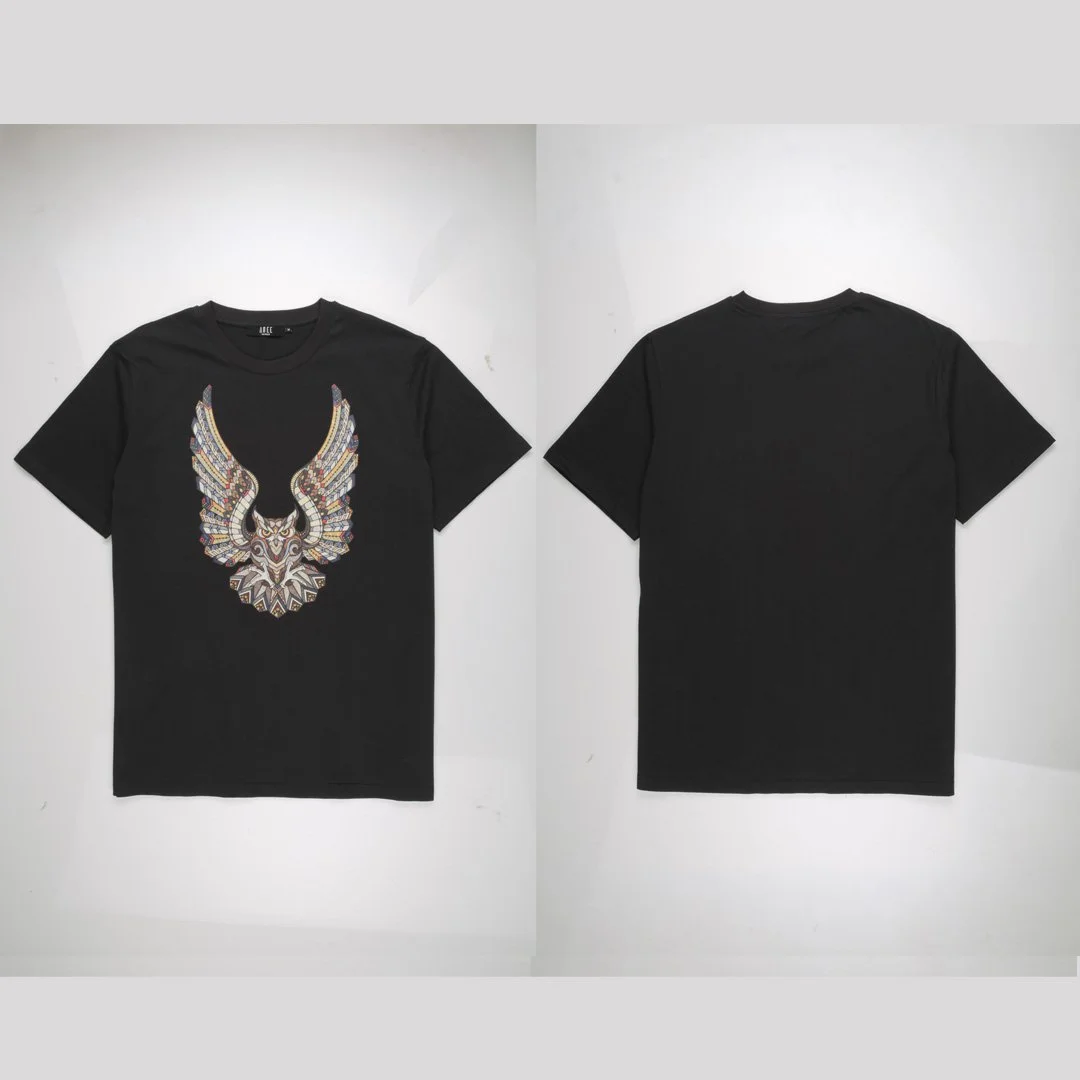
The six T-shirts required individual front photographs.
Only two back photographs were required because the reverse of the garments did not contain product-specific graphics or distinguishing details.
Where products share the same construction and back design, using one accurately photographed back view across corresponding products can provide a consistent presentation without creating unnecessary duplicate photography.
The important consideration is making sure the garment shape and proportions remain compatible with the corresponding front photographs.
Photographing Graphics and Logo Details
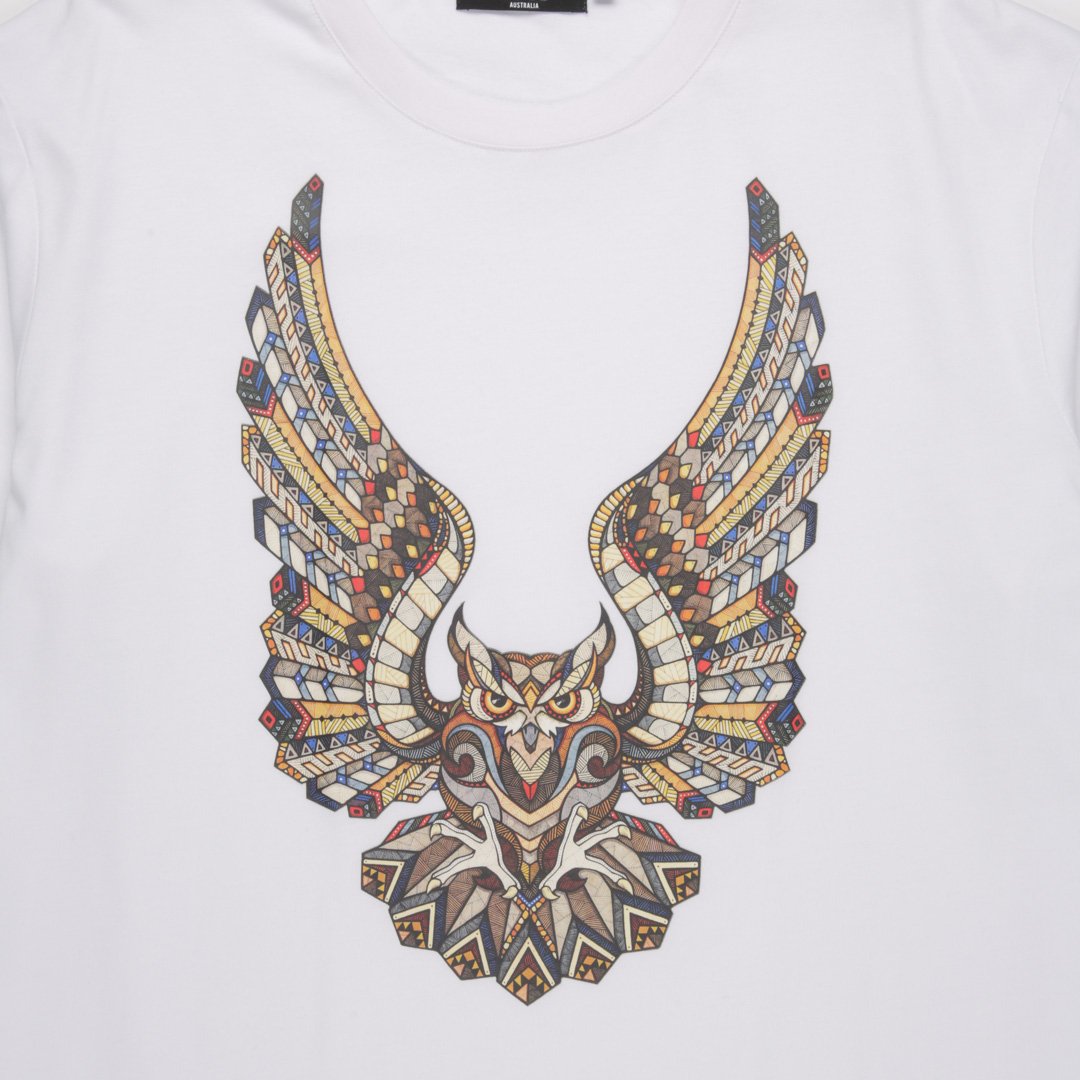
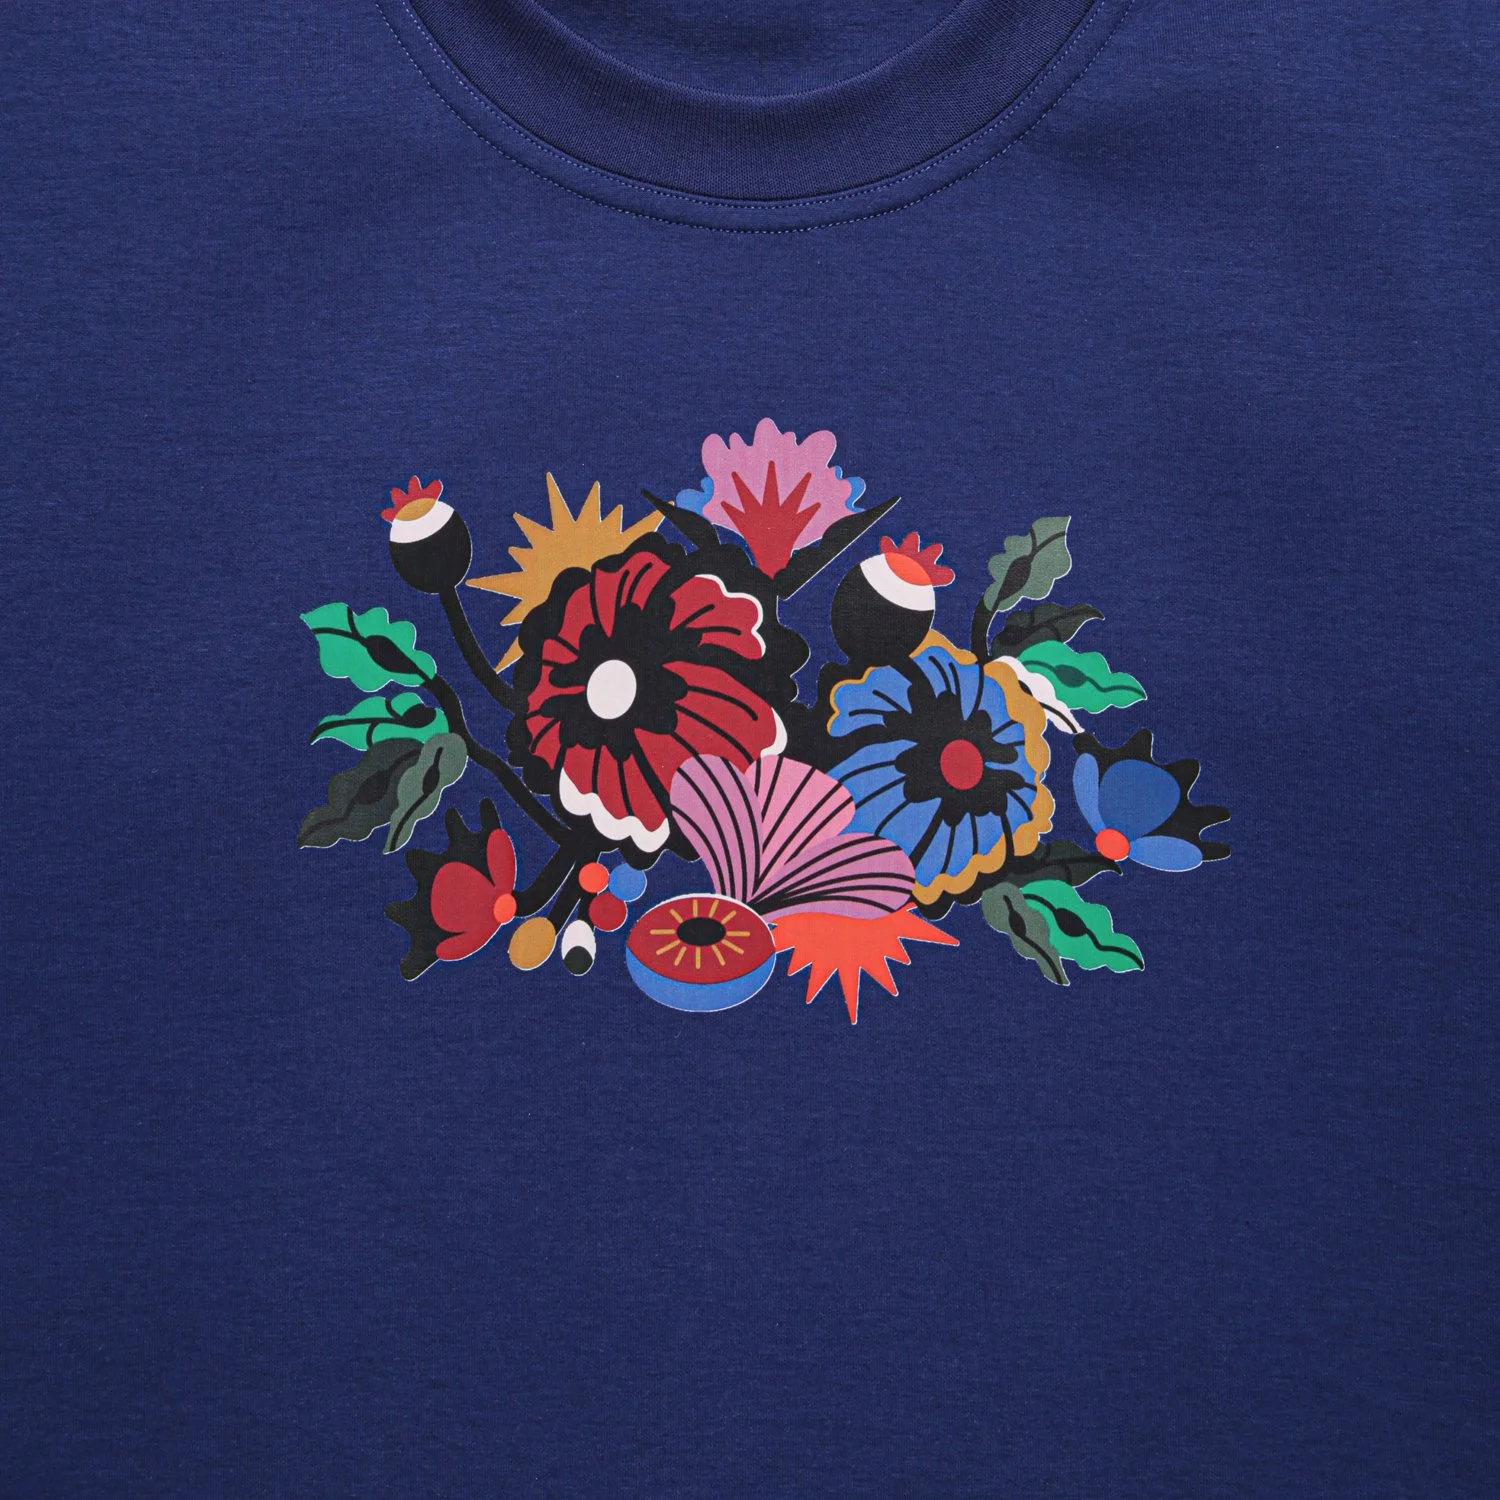
The client also required close-up photographs of the printed graphics.
For these images, garment preparation becomes particularly important.
A small crease running through a logo or print can alter its appearance, while lint and fibres become much more prominent at close range.
Before photographing each detail, we inspected the surrounding fabric again and made small adjustments where necessary.
The objective was to keep the graphic as the main point of attention while still showing enough surrounding material to communicate how the design appears on the garment.
Photographing the Sweatshirts
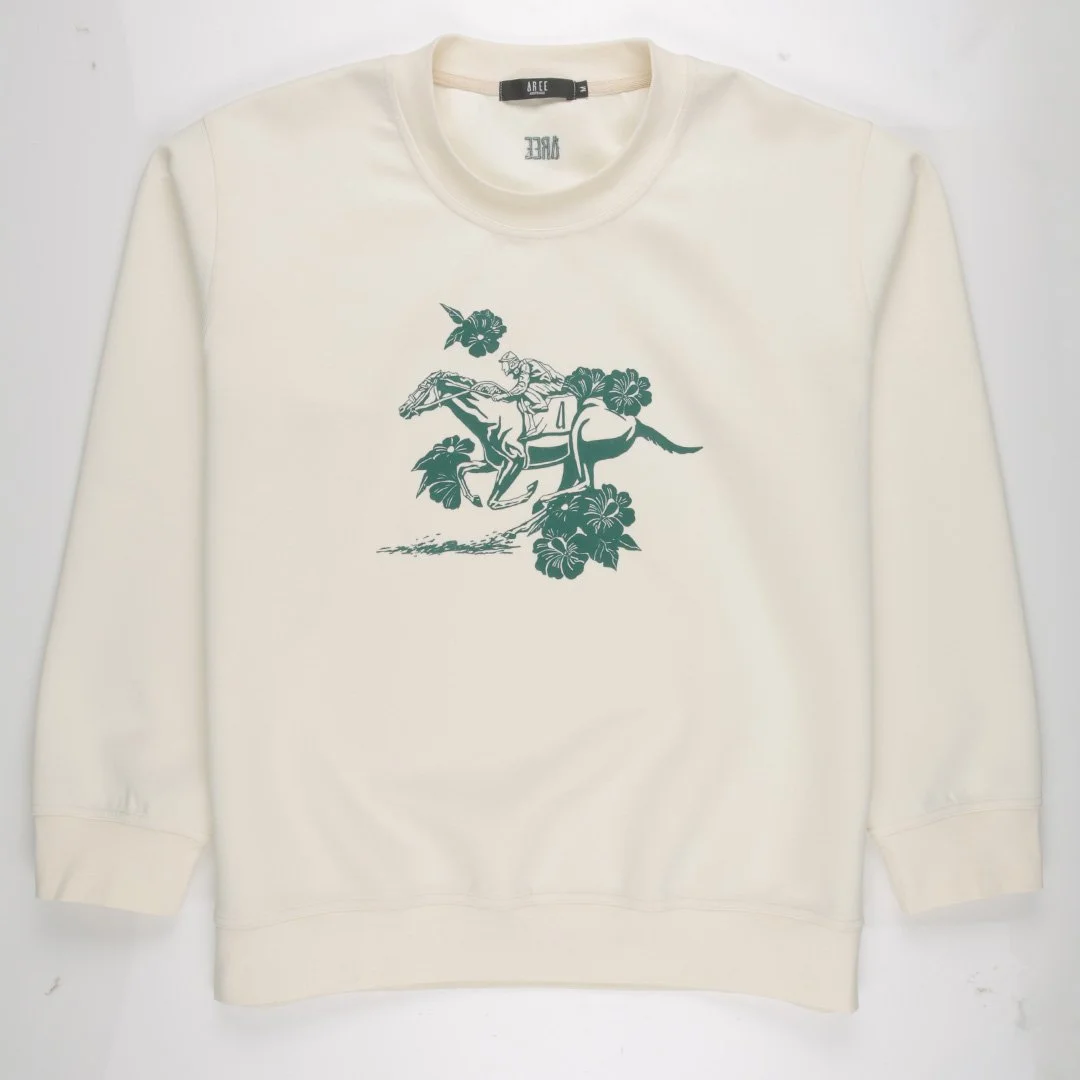
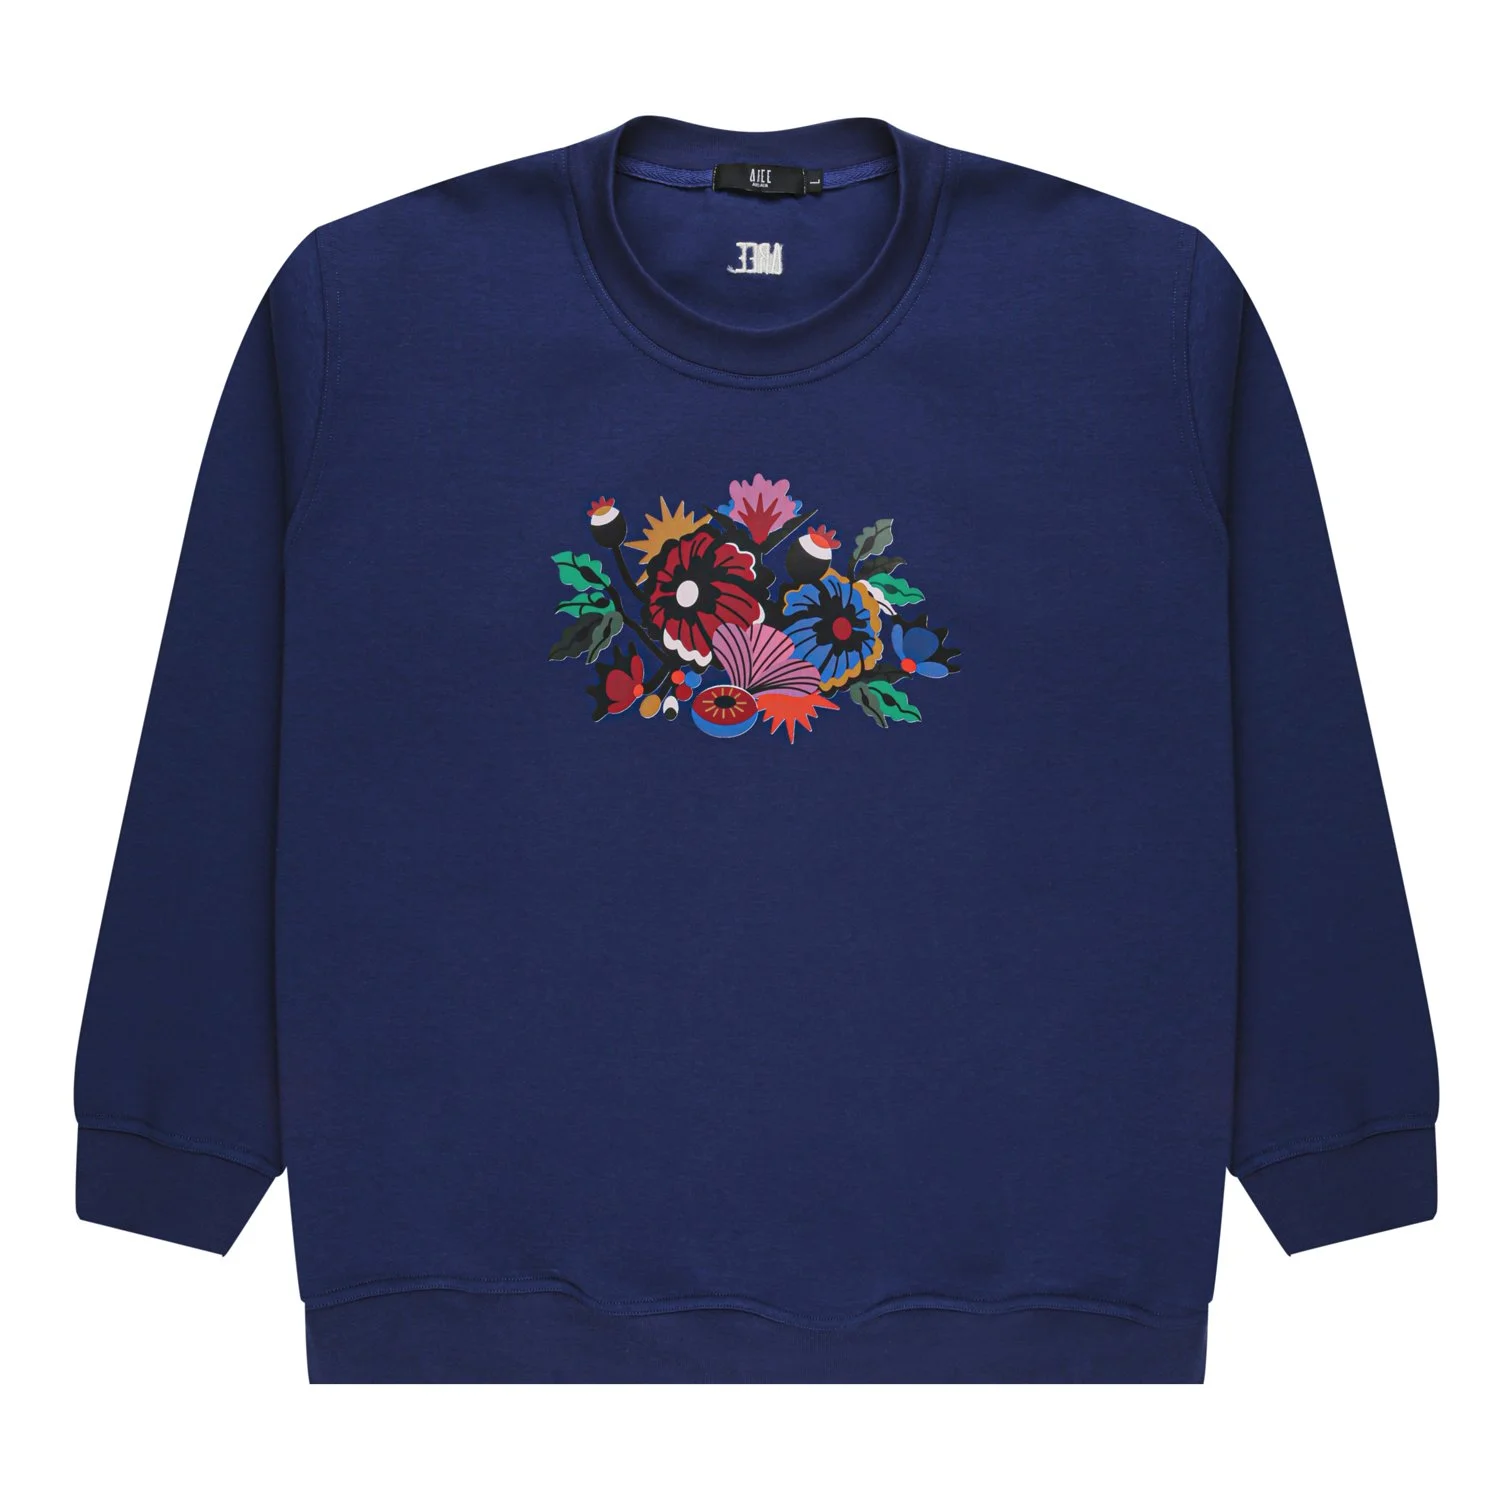
The sweatshirts followed the same fundamental flat lay principles as the T-shirts.
The sides were tucked slightly underneath the main body to refine the overall shape, while the sleeves were arranged symmetrically in relation to the torso.
Because sweatshirts generally contain heavier fabric than T-shirts, their construction tends to hold its shape more strongly.
However, this also means that sleeve position, cuffs and thicker seams require careful attention to prevent one side from appearing visually heavier than the other.
For the sweatshirts, the required shot list included:
Front view
Back view
Close-up of the graphic
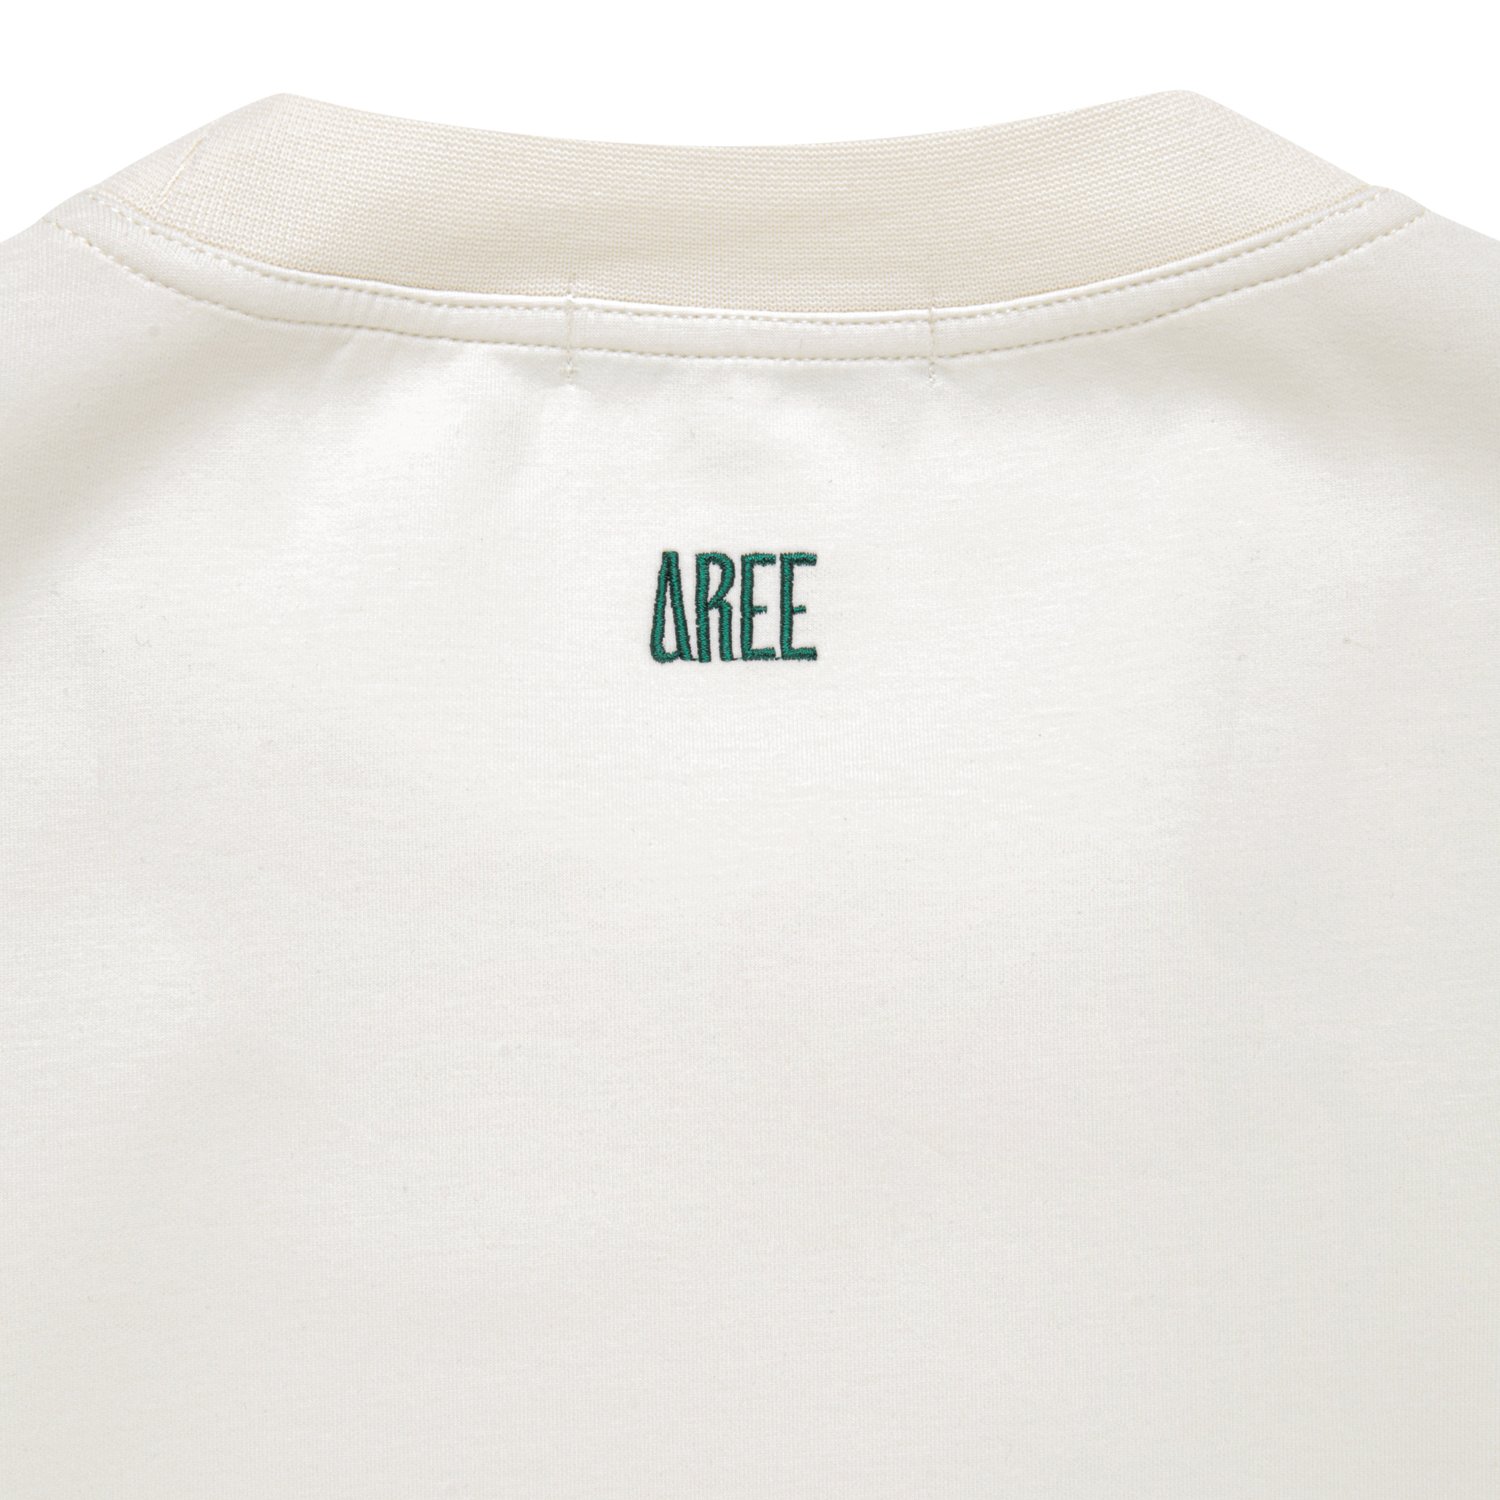
Close-up of the embroidery on the back
For the detail photographs, we adjusted the garment position where necessary to make sure the print or embroidery remained flat and clearly visible.
Maintaining Consistency Across the Collection
A flat lay collection needs to look consistent when the images are viewed together on an eCommerce website.
This means controlling more than just the lighting.
We also pay attention to:
garment width
sleeve position
shoulder symmetry
distance between the product and image edges
fabric tension
colour consistency
orientation of graphics and logos
Small differences may not appear significant when viewing one photograph individually, but they become much more obvious when several products are displayed next to one another.
For this reason, each new garment is positioned with reference to the photographs already completed during the session.
Post-Production
Once the photography is complete, the images move through our standard post-production workflow.
The garments are reviewed for overall shape, symmetry, colour and consistency across the collection.
Minor imperfections, lint or distracting details that remain visible can be refined during retouching, while the product itself is kept representative of its actual construction and appearance.
The close-up images are also checked carefully to ensure that printed graphics, logos and embroidery remain sharp and accurately represented.
As the client did not require additional shadows, the finished images maintain the clean flat lay presentation established during photography.
Before delivery, the images are checked together as a collection to ensure consistent sizing and presentation.
The Final Images
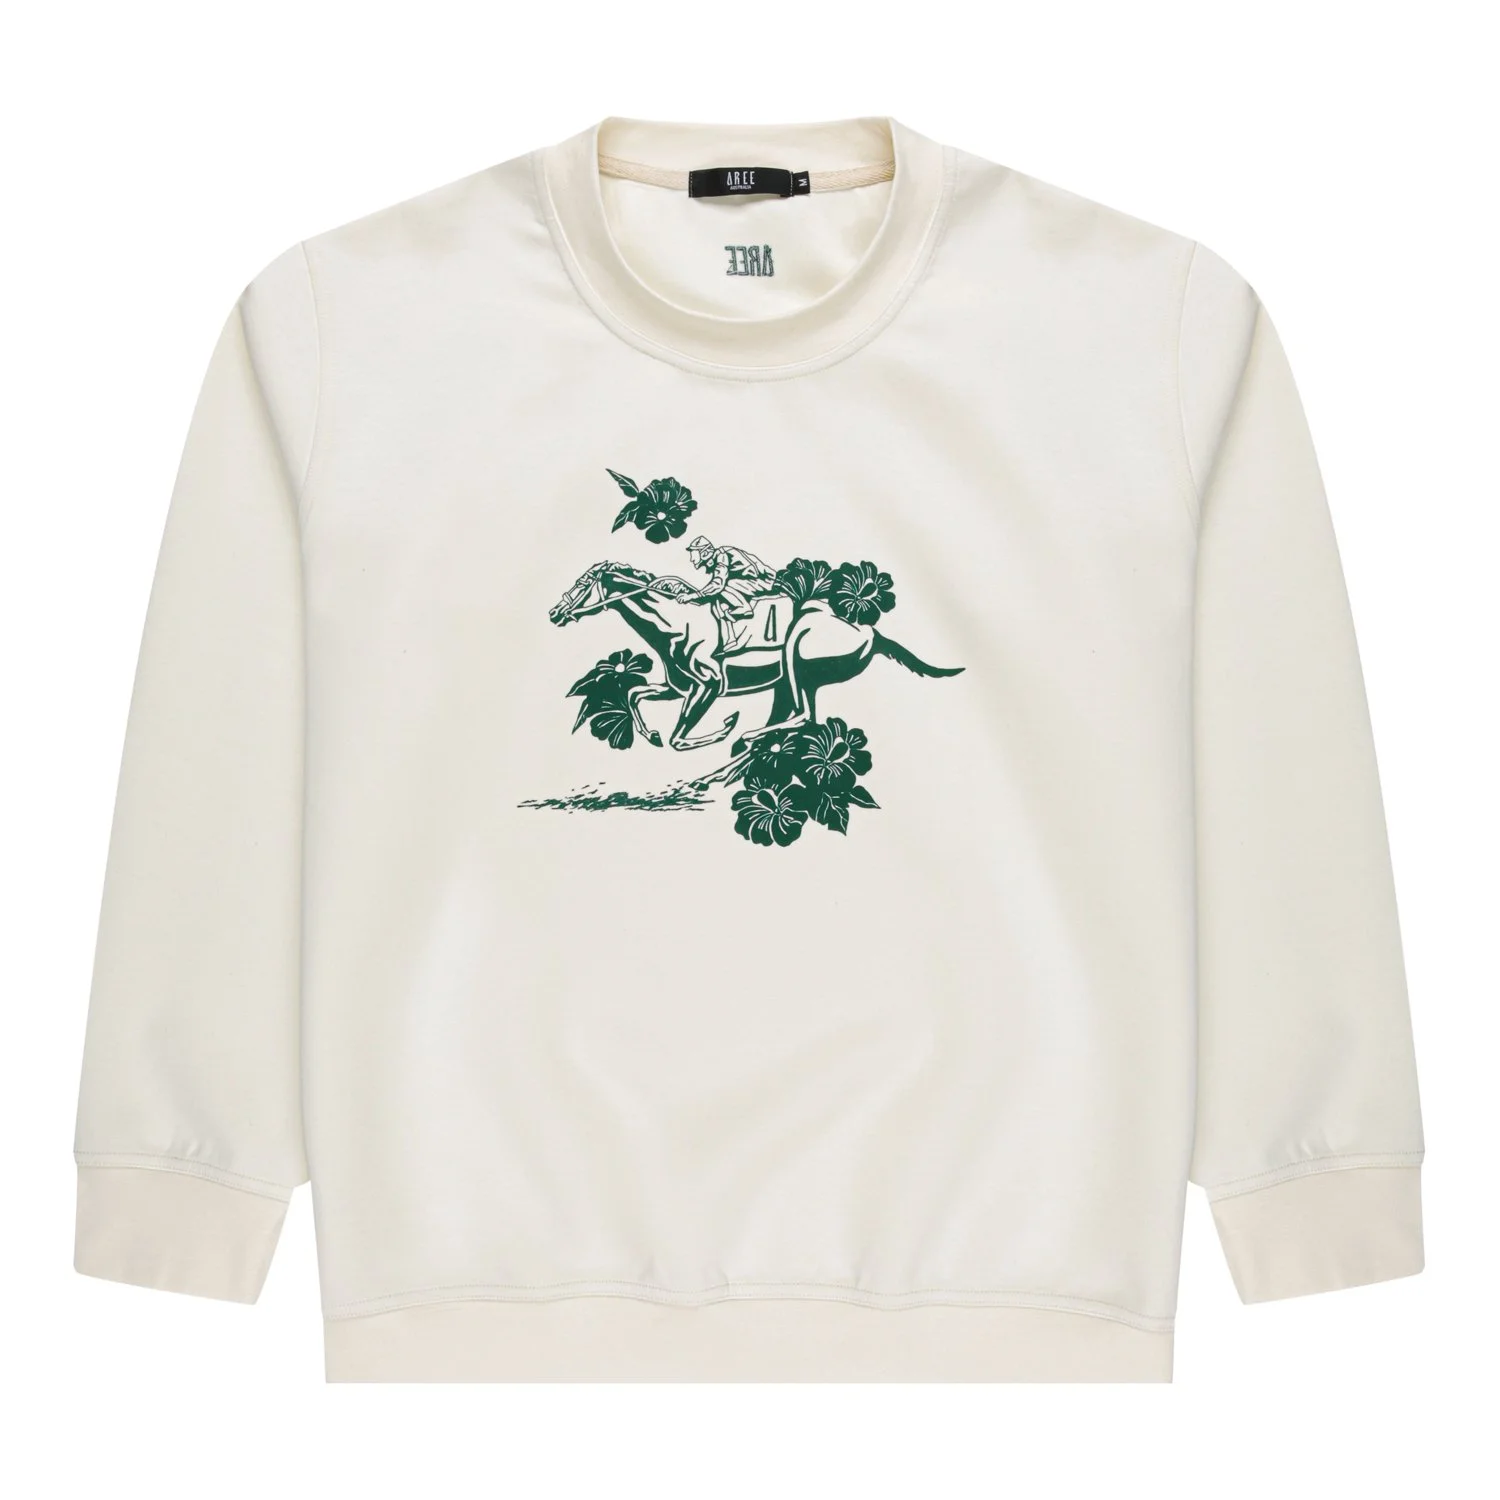
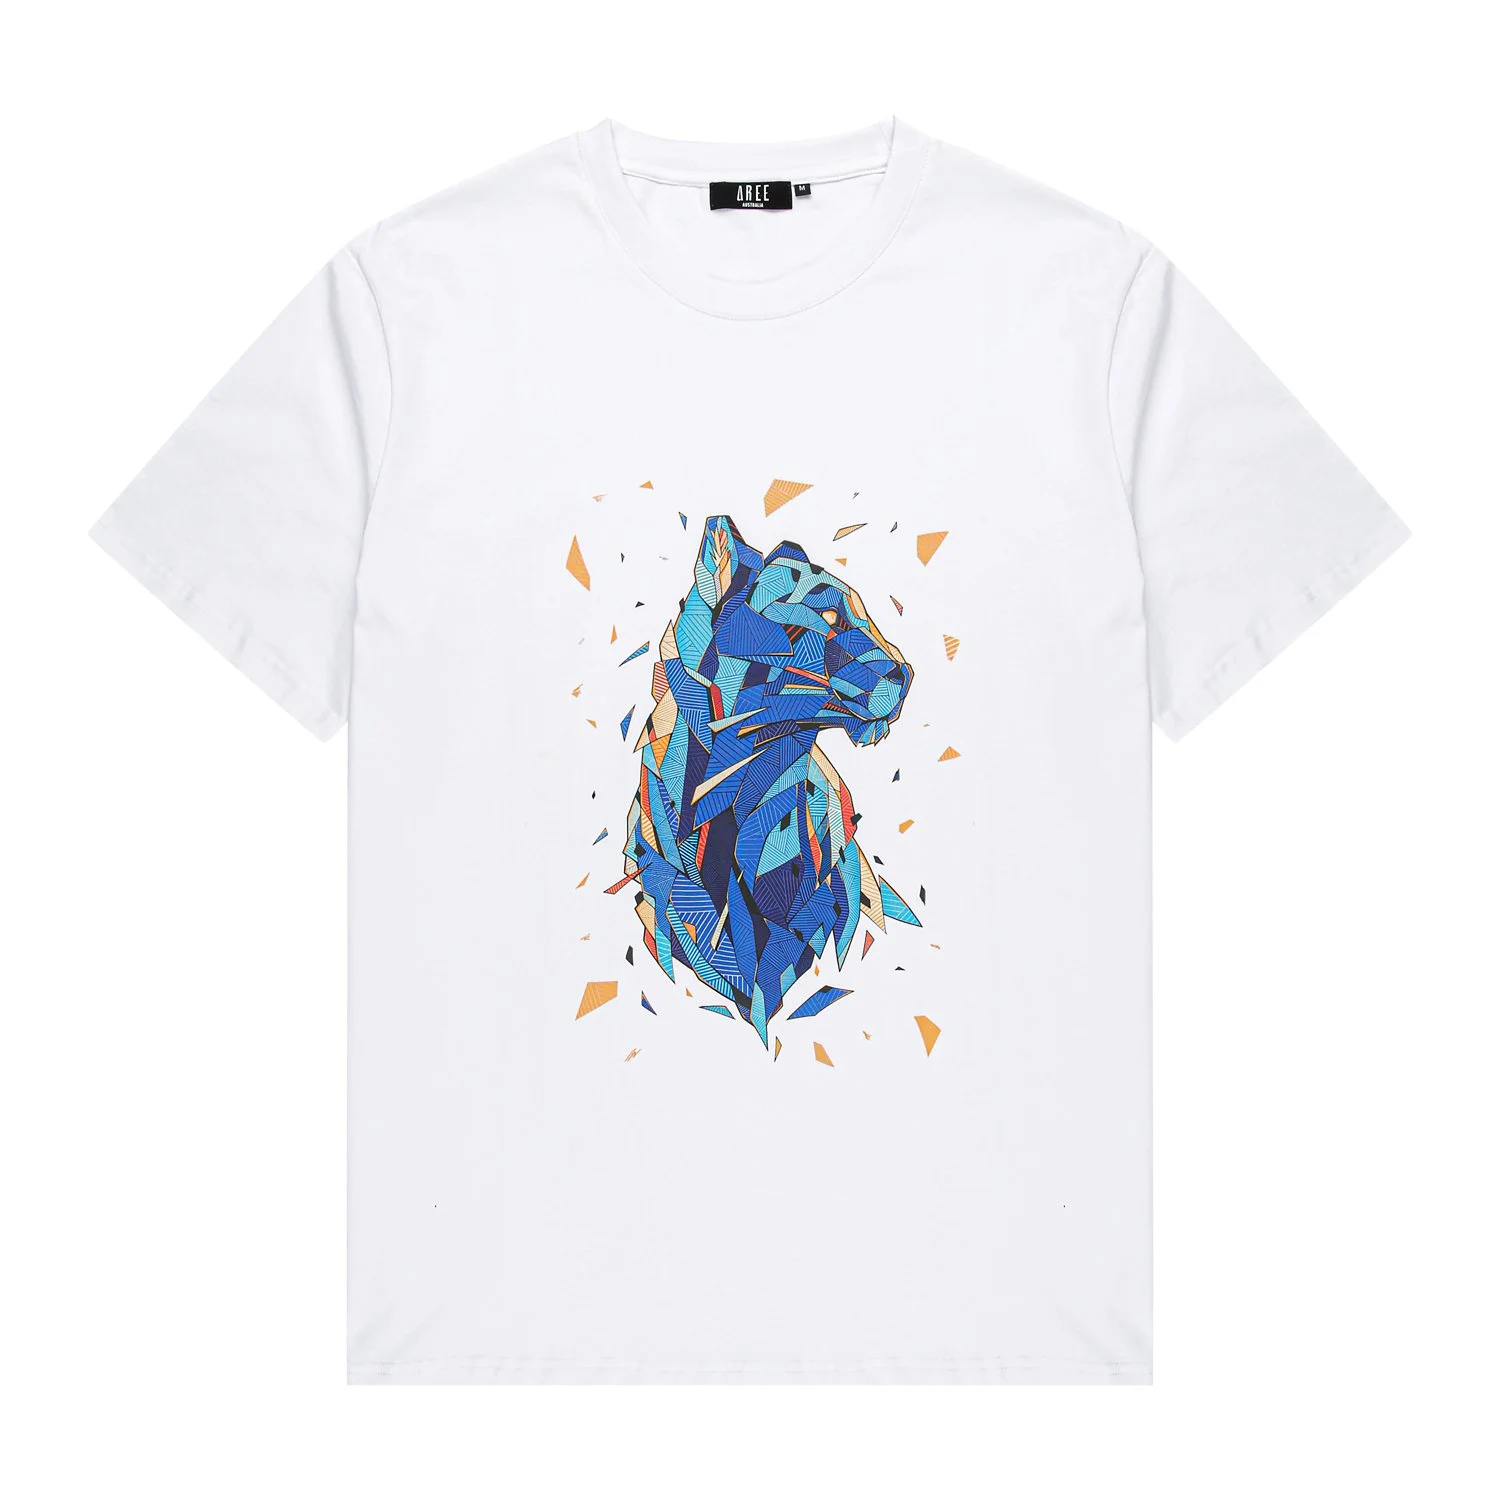
The completed collection includes clean front and back flat lay images together with detailed photographs of the printed graphics and embroidery.
The final presentation maintains a consistent garment shape across the different products and colourways while allowing the important design details to remain clearly visible.


What This Project Demonstrates
Flat lay clothing photography depends heavily on preparation and careful positioning.
The difference between an average flat lay and a professional eCommerce image can come down to adjustments of only a few centimetres.
This project demonstrates several important aspects of the process:
Garments need to be thoroughly steamed before photography.
Fabric weight affects how easily a product can be shaped and positioned.
Slightly tucking the sides and sleeves can create a cleaner silhouette.
Directional lighting helps preserve fabric depth without requiring artificial shadows.
Dark garments require particularly careful lint and dust removal.
Close-up photography makes preparation even more important.
Consistent garment positioning is essential when several products are displayed together.
What appears to be a simple overhead photograph is ultimately the result of numerous small decisions made during preparation, lighting and positioning.
Flat Lay Photography at Nikita Photography Studios
Nikita Photography Studios provides professional flat lay photography for Australian fashion brands, retailers and eCommerce businesses.
Our Sydney studio photographs T-shirts, sweatshirts, activewear, knitwear, childrenswear and other garments, with professional product preparation, controlled studio lighting and detailed post-production.
Explore our Flat Lay Photography service to view examples of our work, learn more about the process and request a quotation.